Do you need to take screenshots on your Windows computer? Maybe you want to capture an image of a document or save something funny that happened on your screen. Whatever the reason, taking screenshots on Windows is easy! In this guide, we will show you how to take screenshots using different methods. We will also discuss some tips and tricks for taking better screenshots. Let’s get started!
What screenshots are and why they are useful?
Screenshots are images of your computer screen that can be helpful in a number of ways. Maybe you want to capture an image of a document or save something funny that happened on your screen. Screenshots can also be useful for saving images from the internet or other sources.
Enable Clipboard History
When you take a screenshot on your computer, the image is automatically saved to the clipboard. This means that you can paste it into any program, such as a word processor or photo editor, simply by pressing Ctrl+V. However, if you disable the clipboard, you won’t be able to paste your screenshots anywhere. This can be a major inconvenience if you need to edit or share your screenshots.
Everything in Windows Clipboard is kept in system RAM. There is no clipboard file on the computer’s hard drive or any other storage media. This is why when you shut down a PC and you don’t Pin your capture, the clipboard data disappears.
There are several ways to enable the clipboard.
System Settings
You can enable and disable clipboard history from system settings
1. Open Windows Settings by clicking the Start menu, Settings
2. From Settings select System
3. From the left pane select Clipboard
4. Under the “Clipboard history” toggle button to “On” to enable clipboard history
Windows Key + V
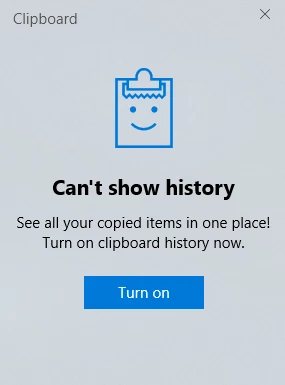
Using Windows Key + V you can quickly enable clipboard history. If you don’t have a clipboard history, follow these steps:
1. Windows Key + V to open the menu.
2. Choose Turn On to turn on your clipboard history immediately.
Access and View Clipboard History on Windows
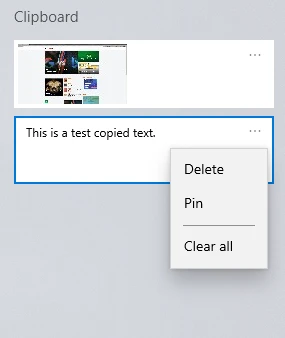
You can use the keyboard shortcut Windows Key + V to quickly access your Clipboard history, and you may see a list of previous clips.
You can click any item in the Clipboard window and paste it into an open application.
To remove an item from Clipboard history, click the three-dot symbol next to it and then choose Delete. To erase all items from Clipboard memory, choose Clear All.
How to take a screenshots on Windows?
There are several ways that you can take a screenshot on Windows. We will discuss the most common methods below.
The Print Screen (PrtSc)
The print screen button is a button on your keyboard that allows you to take a screenshot of your entire screen. To take a screenshot using the print screen button, simply press the “Print Screen” button on your keyboard. Your computer will take a screenshot of your entire screen and save it to your clipboard. You can then paste the screenshot into an image editing program like Paint or Photoshop.
Alt + Print Screen
To take a screenshot of a specific (selected) window, you can use the Alt + Print Screen keyboard shortcut. This will take a screenshot of the active window and save it to your clipboard. You can then paste the screenshot into an image editing program like Paint or Photoshop.
Windows Key + Alt + Print Screen
Windows Key + Alt + Print Screen, like Alt + Print Screen, captures the active window. The difference between these two methods is that this combination saves the captured window in the “Captures” folder in your “Videos” folder (%username%\Videos\Captures).
Windows key + Print Screen
Another way to take a quick screenshot of the entire screen on Windows is to use the Windows Key + Print Screen keyboard shortcut. This will take a screenshot of your entire screen and save it as a PNG file in the “Screenshots” folder in your “Pictures” folder (%username%\Pictures\Screenshots).
How to take a partial screenshot on Windows?
The Snipping Tool
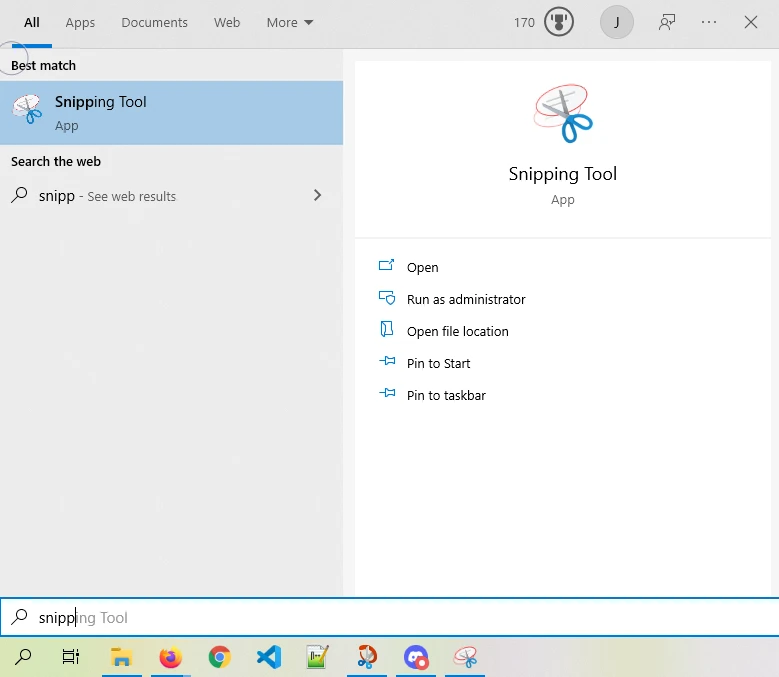
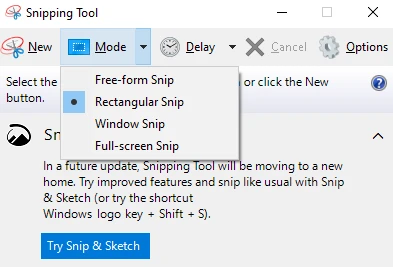
The snipping tool is the easiest method and one of the screenshot tool on Windows. It also works great for customizing, annotating, and sharing your screen captures because it allows you to make changes and annotations. The Snipping Tool software is a fantastic tool for taking screenshots.
1. To launch the screen snipping tool app, search for it in the bar.
2. To use the default rectangular snip just click the new and select area you are interested in. To switch from rectangular snip to the free-form, window, or full-screen, go to “Mode” just beside “New,” and pick your option.
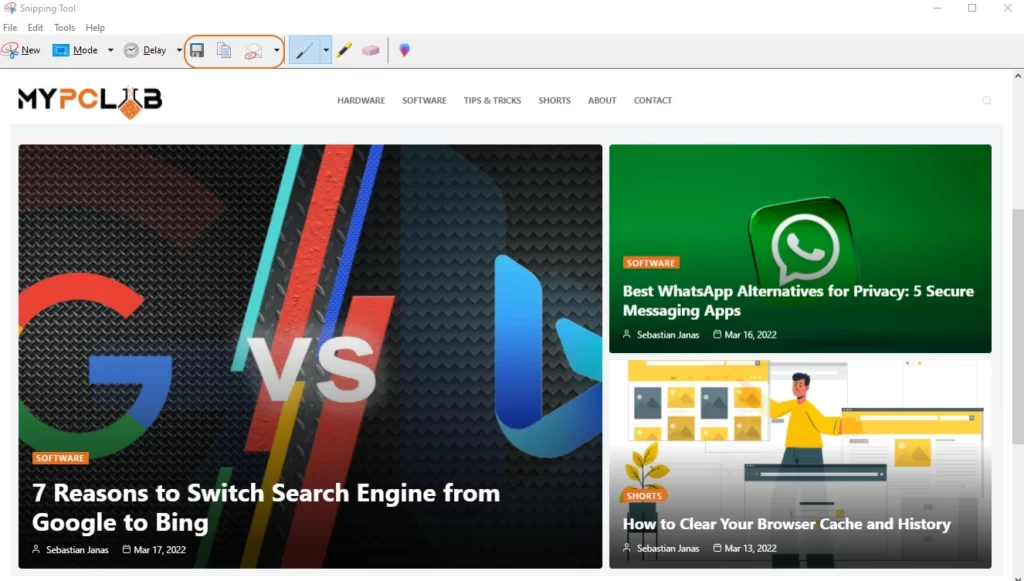
3. When you take a screenshot, you may use a pen or highlighter to mark or highlight anything on the screen.
4. If you are happy with your modification you can save, copy or email directly from Snipping Tool to someone.
Snip & Sketch
Snip & Sketch is a newer app that replaced the Snipping Tool in Windows. To use Snip & Sketch, open the app and select the “New” button. You will then be able to select the area of your screen that you want to capture. Once you have selected the area, click the “Save” button to save your screenshot.
1. To use Snip & Sketch, press the Windows Key + Shift + S or type “Snip & Sketch” in the search bar.
2. When you take a full computer screen capture, your screen will dim and a small menu will appear at the top of your display, allowing you to choose from a rectangular, free-form, window, or an entire computer screen.

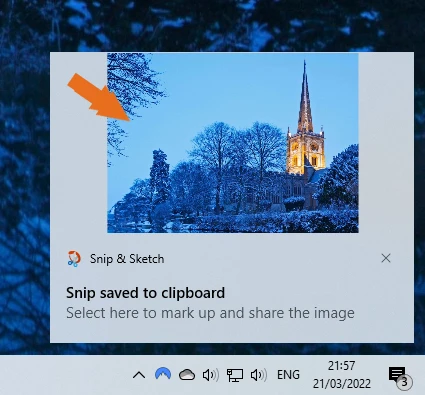
3. When you pick something on the bottom right, you will receive a notification. Simply click this alert to open Snip & Sketch, where you may modify your selection.
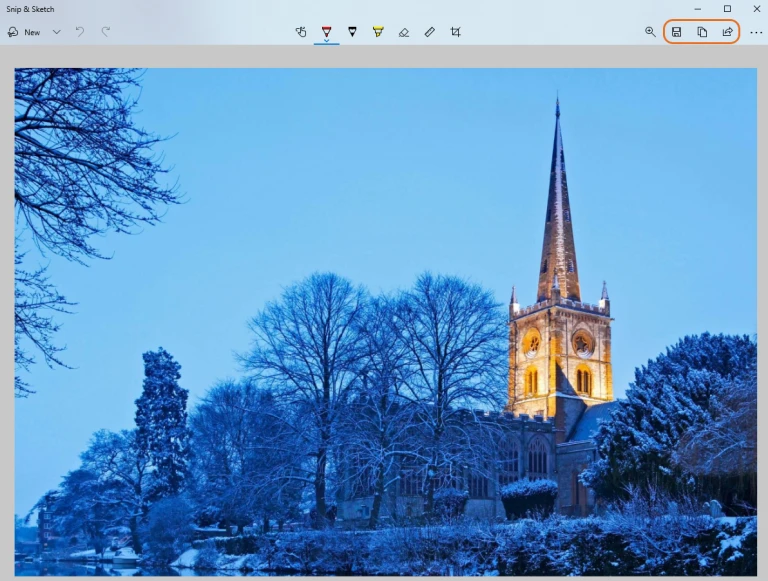
4. You may Save, Copy, or Share your image using the buttons at the top right corner once you’ve finished editing it.
Conclusion
Taking screenshots on Windows is easy! In this guide, we have shown you how to take screenshots using different methods. Now that you know how to take screenshots, put this knowledge to use the next time you need to capture an image on your screen. Thanks for reading!